
How to Make a Minecraft Server
📋 Table of Contents
How to make a Minecraft server
Making a Minecraft server means downloading the official server .jar file, running it once to generate config files, accepting the EULA, then launching it again so friends can connect over your network. You can do this on Windows, Mac, or Android, and the steps are close enough across all three that learning one makes the others easy.
Ultimate guide on how to make a Minecraft server
Setting this up yourself means changing your home network's configuration, so it's worth knowing what you're getting into before starting. If you just want a private space for friends without touching router settings, Minecraft Realms handles the hosting for you. If you're comfortable with command lines and port forwarding, self-hosting costs nothing beyond the electricity your computer or phone uses.
Every platform below follows the same core sequence: install Java (Java Edition needs it, Bedrock doesn't), download the server file, run it once to fail on purpose, accept the EULA, edit server.properties, then run it again for real.
Making servers in Windows
A Windows Minecraft server runs through Command Prompt (where you can run server commands like teleport) and the official .jar file from Mojang.
Install or update Java on the computer that will host the server, since the server .jar file needs it to run.
Download minecraft_server.1.XX.X.jar from Mojang's official Java Edition server page; the X's match whatever version you want.
Make a folder, name it something like Minecraft Server, and move the .jar file into it.
Open Command Prompt from the Start menu and check that Java is installed by typing java -version.
Change directory to your server folder. Copy the folder path from File Explorer, type cd, paste the path, and hit Enter. It should look like cd C:\Users\Admin\Desktop\Minecraft Server.
Run java -jar "yourjarname .jar and hit Enter.
The first run fails on purpose, with a missing eula.txt and a failed properties load. That's expected, not a bug.
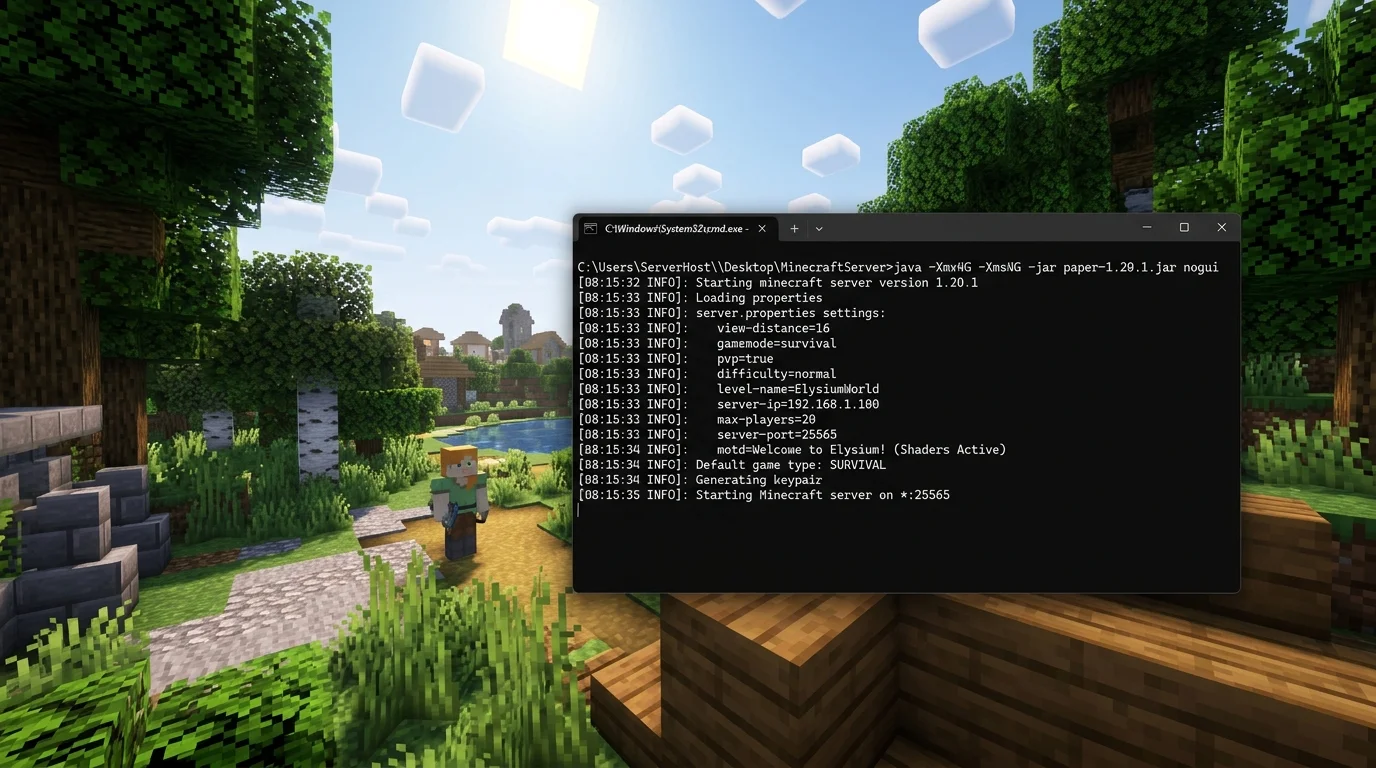
Open eula.txt in a text editor, change eula=false to eula=true, and save it. Then open server.properties, right-click and choose "open with" your text editor if it doesn't open automatically. This file controls the settings that matter most:
- gamemode sets survival or creative
- spawn-protection sets how many blocks around spawn can't be broken; set to 0 to disable it
- allow-nether turns the Nether on or off
- difficulty sets peaceful, easy, normal, or hard
- pvp turns player damage on or off
- max-players caps how many people can join, worth matching to how much RAM you've allocated
- level-seed lets you load a specific world seed
- motd sets the message players see in their server browser
- query. Port is the port you'll forward on your router, 25565 by default
Save the file, rerun java -jar "yourjarname .jar, and the server should start for real this time.
You'll need to forward the query port on your router so people outside your network can connect. Router steps vary by manufacturer, so check your router's manual or support site if you're not sure where that setting lives. Once forwarded, find your public IPv4 address by searching "what is my public IP," and give that address (followed by:25565) to whoever you want joining. Don't post that IP publicly, since sharing it widely is a real security risk to your home network.
Making servers on Android
Android doesn't run a Minecraft server natively. You need Termux, a terminal app that gives your phone a Linux-style environment capable of running Java.
Install Termux from F-Droid or GitHub releases rather than the Play Store version, since several setup mobile guides flag the Play Store build as outdated or unsupported.
Open Termux and update its packages: pkg update -y && pkg upgrade -y.
Install Java inside Termux, for example, pkg install openjdk-21.
Create a folder for your server files and move into it with mkdir and cd.
Download a server .jar with wget, pointing at either the official Mojang server file for Java Edition or a Bedrock-compatible option like Nukkit if you want Bedrock instead.
Run the server with java -Xmx2G -jar server.jar nogui, adjusting the -Xmx value to how much RAM you want to allocate.
Accepting the EULA works the same way as on Windows: edit eula.txt inside the server folder and set it to true.
Keeping the server running while you use your phone for other things takes an extra step. Installing screen (pkg install screen -y) lets you detach from the running server with Ctrl+A then D, and reattach later with screen -r. Some setups also use SSH so you can manage the server from a computer instead of typing directly on your phone.
Storage and RAM limits matter more here than on a desktop. Several Termux-based setups recommend at least 3GB of free RAM on the device itself for a stable vanilla server, and older or budget phones may struggle to keep a server running smoothly while also being used to play.
Making Servers on a Mac
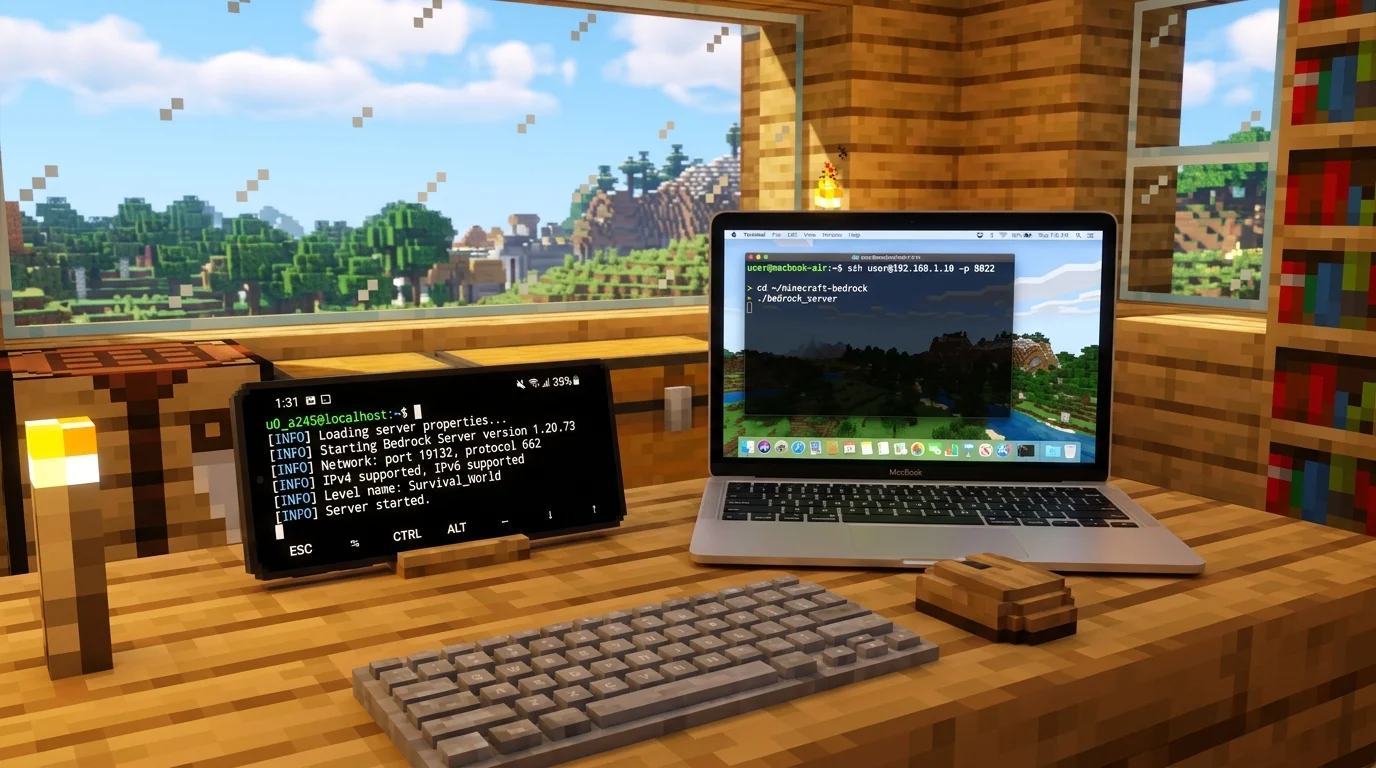
A Mac Minecraft server follows nearly the same steps as Windows, just through Terminal instead of Command Prompt.
Confirm Java is installed by opening Terminal and typing java -version. If it's missing, install it through Homebrew (brew install openjdk) or download it directly from a JDK provider.
Download minecraft_server.1.XX.X.jar from Mojang's Java Edition server page.
Create a folder for your server files, something like ~/Minecraft Server, and move the .jar file into it.
In Terminal, cd into that folder. On Mac, this looks like cd ~/Desktop/Minecraft\ Server, with a backslash before the space if your folder name has one.
Run java -jar "yourjarname .jar and let it fail on the first pass.
Edit eula.txt to set eula=true, then edit server.properties using the same settings list covered in the Windows section: gamemode, spawn-protection, allow-nether, difficulty, pvp, max-players, level-seed, motd, and query. port.
Rerun the launch command to start the server properly.
Port forwarding, checking your public IP, and sharing your address with friends all work identically to the Windows steps above, since none of that depends on your operating system.
Comparing the 3 setup methods
| Platform | Needs Java installed manually | Runs 24/7 easily | Best for |
|---|---|---|---|
| Windows | Yes | Only if the PC stays on | Most stable setup, easiest troubleshooting |
| Mac | Yes (often via Homebrew) | Only if the Mac stays on | Same steps as Windows, different terminal |
| Android (Termux) | Yes, inside Termux | Harder, drains battery, and needs the app kept open | Testing or hosting without a computer nearby |
None of these three keep a server running once the device sleeps or shuts down, so if you want something online around the clock without leaving a machine powered on, a paid host is the more practical option over any of these.
Conclusion
Windows and Mac follow nearly the same path: install Java, download the server file, fail once on purpose, accept the EULA, configure server.properties, then relaunch and forward your port. Android needs Termux to bridge the gap, and it's a heavier setup to keep running long-term. Whichever platform you're on, keep your public IP private and only hand it to people you trust, since that address is what exposes your home network to the outside connection.
Frequently Asked Questions (FAQ)
Download the official server .jar file for your platform, run it once to generate config files, accept the EULA in eula.txt, edit server.properties for your settings, then relaunch the server and forward your router's port so friends can connect.
Yes, self-hosting on your own Windows, Mac, or Android device costs nothing beyond electricity or battery. Running it 24/7 with a public domain and guaranteed uptime usually means paying for a hosting service instead.
It's the bare technical minimum for a tiny test world with 1 or 2 players and no plugins, but most guides recommend at least 2 to 4GB for anything beyond quick testing, since 1GB leaves no headroom for lag spikes or new chunk generation.
Running a server around the clock for free means leaving your own computer or phone on and connected at all times, which most home setups aren't built for. A paid hosting plan is the more realistic option if uptime matters.
Yes, age-restricted community servers exist, usually enforced through Discord verification or an application process tied to the server rather than anything built into Minecraft itself.
Yes, that's exactly what this guide covers. It requires installing Java (for Java Edition), running the server .jar file, and forwarding a port on your router for outside players to connect.